The Safe, DIY Approach to Grout Cleaning
Published on Jun 11, 2024 | Updated - Jun 24, 2024
Have you found that no matter how often you mop your kitchen floor, the grout lines still look dirty and yucky?
Don’t worry, you’re not alone. Cleaning the grout between the tiles is a totally different challenge to cleaning the tiles themselves. Here’s our safe, environmentally friendly approach to bringing dark, dirty grout lines back to life.
Why won’t mopping clean the grout?
Grout between the tiles sits just a little lower than the tiles themselves. This means that when we mop the floor, dirt, grease, and grime are mopped off the tiles and collects in the grout lines.
As grout is porous, some of the dirt, grime and residue from cleaning products is absorbed into the grout This causes the grout lines to look dark and dirty, and is why the grout lines in the kitchen (where a lot of cooking and food oils land on the floor) often looks darker than the grout in other areas the floor.
The DIY approach to Grout Cleaning
This process will safely lighten kitchen grout lines, and when you’re finished, you’ll have a brighter, more attractive kitchen.
While this process is very safe, cleaning grout by hand is a time-consuming task. It requires a bit of planning and we recommend taking a few precautions that are covered in the second half of this article.
What You’ll Need:
- ¼ cup of bi-carb soda
- 1/4 cup white vinegar
- A toothbrush or grout brush
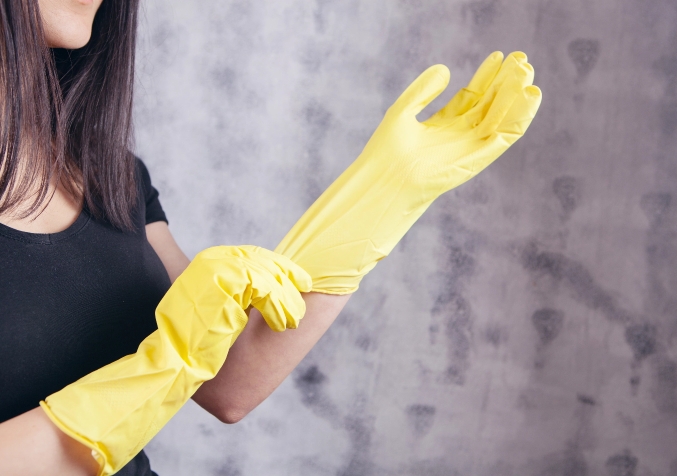
- Rubber or vinyl gloves
- Tile cleaning solution
- Bucket of hot water
- Towels
Instructions:
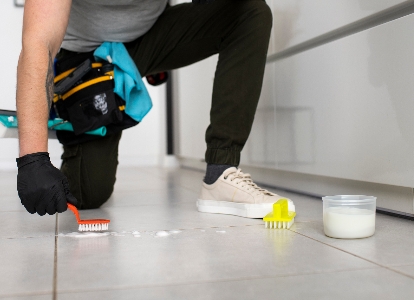
- In a small container, mix the bi-carb soda and vinegar in equal parts to create a paste with a consistency similar to toothpaste.
- Apply the solution using either your finger or a sponge (wearing a glove) to distribute the paste evenly along the grout line.
- Using an old toothbrush or a grout brush, scrub each grout line to agitate the cleaning paste into the grout.
- Allow 30 minutes of dwell time, then mop the floor with clean, hot water. Use a towel to dry the area by hand and remove any remnants of the cleaning paste.
- If you’re happy with the results, clean the floor with your standard cleaning solution and hot water to remove any remaining residue from the cleaning paste. Again, towel the floor dry.
- If the results look patchy or uneven, you’ll need to repeat the process.
RECOMMENDED READING
A Beginners Guide on How to Clean Tile Grout and Re-colouringDon’t Bite Off More Than You Can Chew
We’ve seen many DIY grout cleaning attempts go wrong, and sometimes the damage is irreversible. Our Vinegar and Bi-Carb Soda solution is safe and effective. However, it's easy to take on more than you can handle! We suggest the following:
1. Determine the size of the job before you start!
While you might be planning to clean just the grout in the kitchen, the result could be kitchen grout that looks different from the adjacent dining area in your open-plan kitchen/dining room. We suggest you do a small test clean in the cleaner areas of your open-plan kitchen/dining room to determine if the whole room needs cleaning.
2. Perform a test clean in the worst area.
If you’ve made the decision to proceed with the cleaning, we suggest conducting a small test clean in a relatively inconspicuous spot of the dirtiest area (usually the kitchen). Make sure you’re happy with the likely results before you dive in and start cleaning.
3. Allow time and have help on hand.
This is a time-consuming process, so you’ll need to allow plenty of time. We suggest planning for half a day. As the saying goes, "many hands make light work." This could be a great job for the kids to help with.
4. Get the right tools.

We suggest buying a grout brush from Bunnings to make the job easier.
Be Safe!
We’ve recommended the Vinegar and Bi-Carb solution as it’s quite safe. There are a few grout cleaning solutions sold in-store, and other DIY solutions you may wish to try. Before you start, we ask you to consider the following:
- Using cleaning products with bleaches or hydrogen peroxide can cause permanent colour variations if applied unevenly. Grout is porous and is usually mixed with a colour or dye, which can be affected by bleaches.
- Some store-bought cleaners contain chlorine and other caustic ingredients. If you’re using these solutions, you must ensure that the area where you are working is well-ventilated and you’re wearing gloves, goggles, and a mask.
- Some store-bought cleaning solutions are very strong. Uneven application of these products can easily cause a patchy appearance.
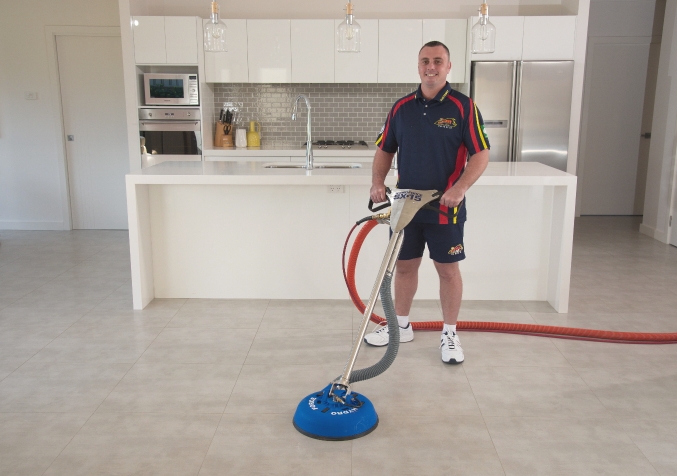
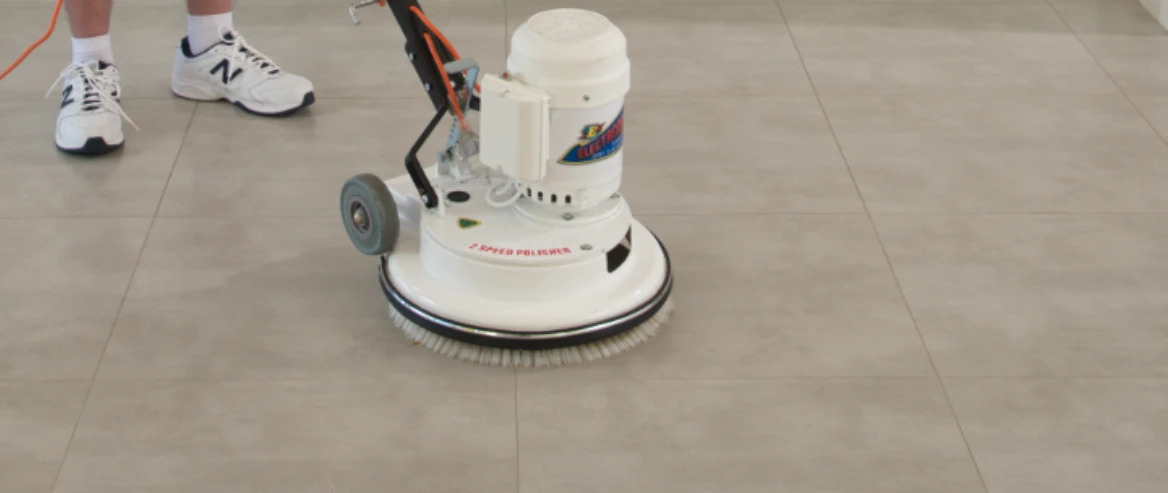
DIY grout cleaning, especially in small areas, is a very manageable way to keep your home looking picture-perfect. Cleaning really dirty grout, or large areas, is really, really hard work without the right skill and equipment. Before you take on more than you're ready for, it might be best to consult Electrodry’s professional tile and grout cleaners first.